|
This page was exported from phaq
[ http://phaq.phunsites.net ] Export date: Sat Apr 20 1:27:56 2024 / +0000 GMT |
|
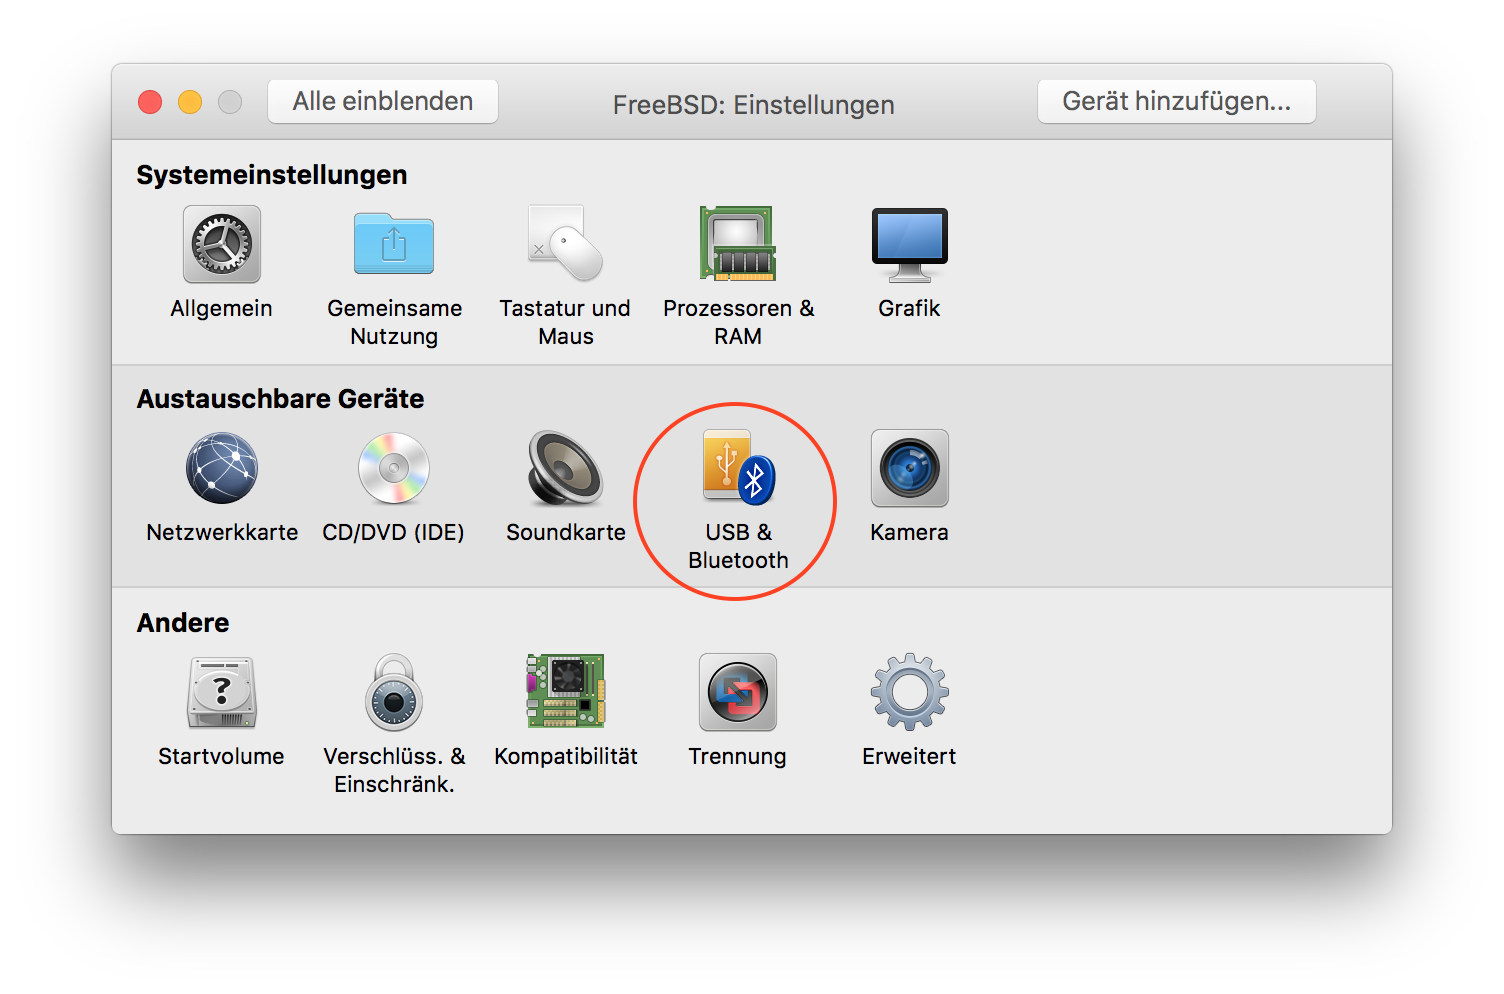
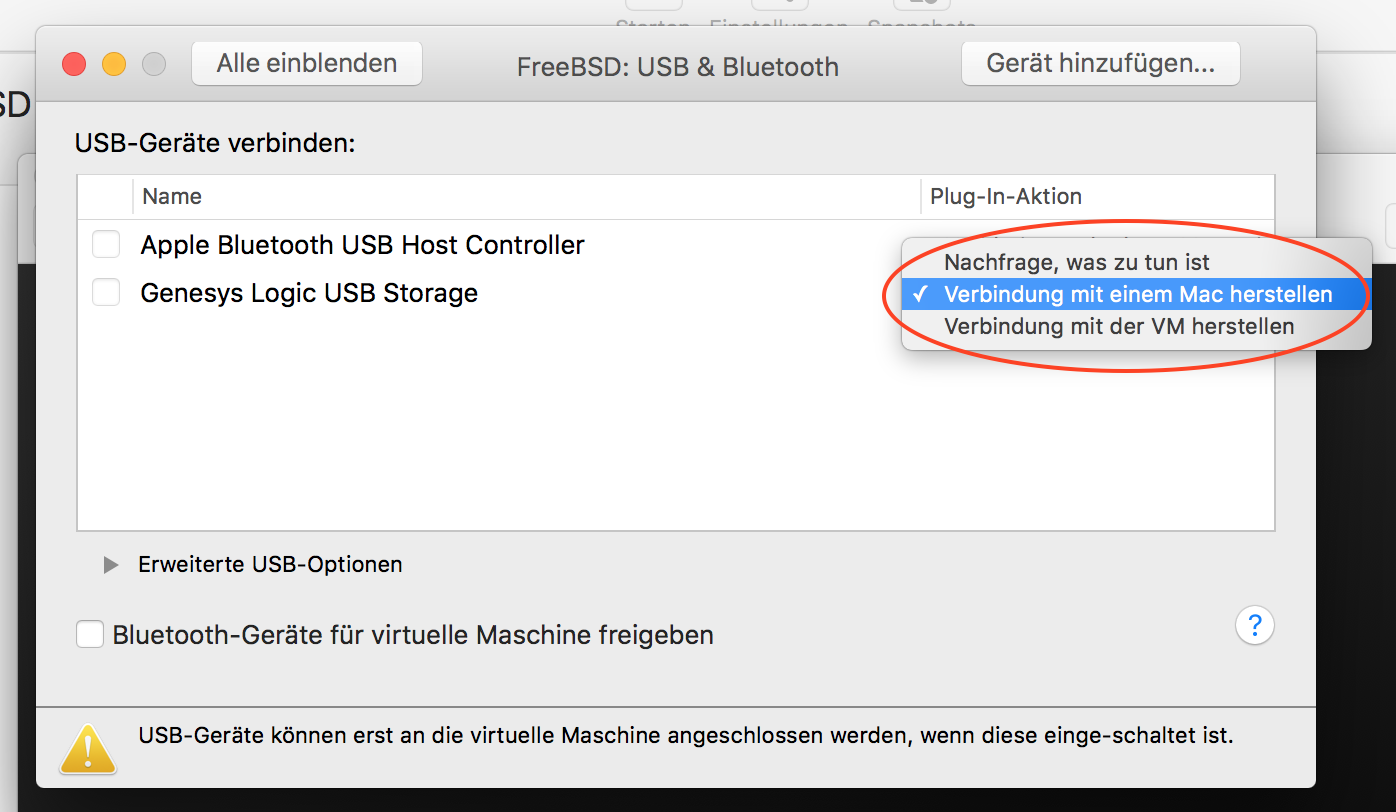
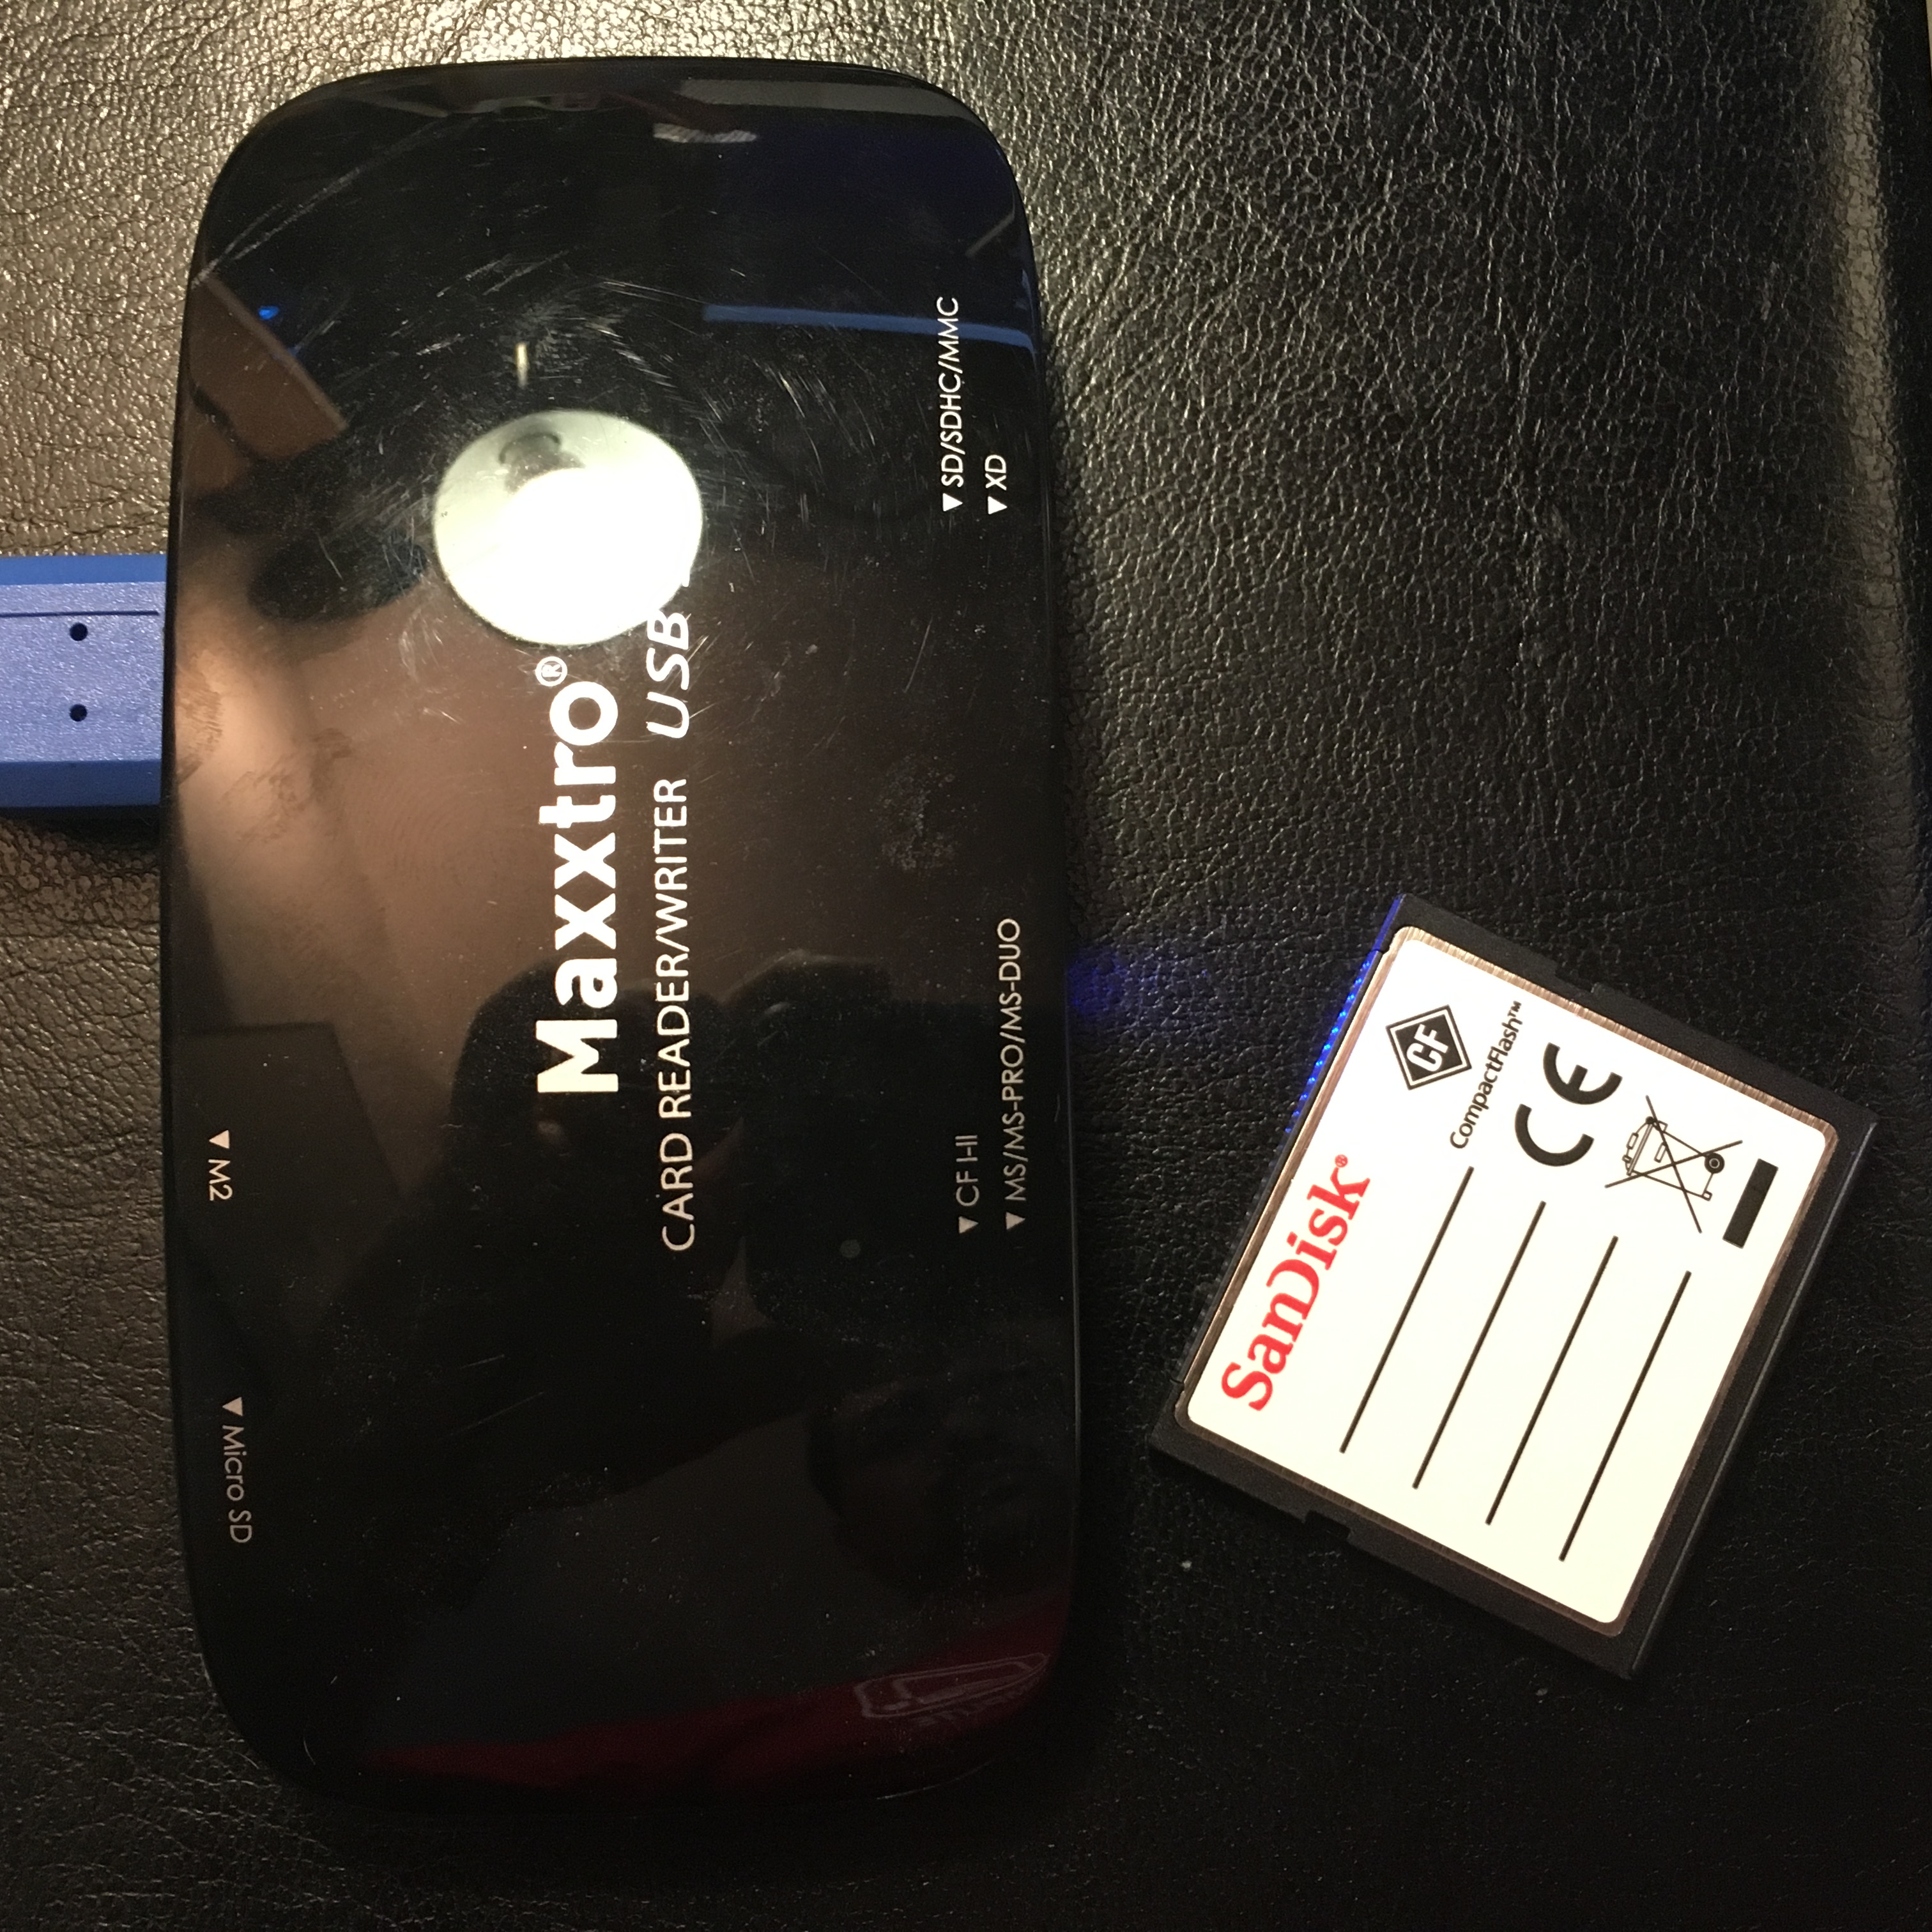
It's been a while since my last post and I've been quiet busy writing on my graduation essay. Meanwhilst my colleague Steven donated me a somewhat dated PC Engines Alix computer. I though to put it to some good use as a packet generator for my new network playground I'm currently building up. Funny anectode: While googl'ing around on some docs about Alix computers, I stumled accross his 2009 original post on FreeBSD installs. But then I read that I'd need to go through config hell for DHCP, PXE, NFS for a one-time install ... Oh boy, must be kidding ... It quickly came to me to actually use VMware to perform the FreeBSD install in 15 minutes or so. Of course I had a test VM around, but first I went out to configure VMware's USB settings: There I selected the USB card reader and chose to connect it exclusively to the VM. After booting into FreeBSD, I checked using camcontrol devlist command wether the card reader was visible to the OS. So it's about time to insert the CF card. Good, so let's reinitialize the CF card with a new DOS-compatible partition table and an appropriate disk label. Note that GPT should not be used. The above will write a standard label, with just one single partition. Since my CF carf is only 1 GiB in size, I'm not going for swap or separate partitions besides a root filesystem. So just make a new filesystem on the a partition: Good, so next is to mount the partition and populate FreeBSD to it. You should have either an ISO image or an install CD ready, or go for online sources, which is what I did. And now some final configuration steps, otherwise the install won't boot properly (perform all steps from within a chroot):
Some additional configuration is needed in /etc/rc.conf. I choose to place /tmp on a MFS device (memory file system, aka RAM disk), despite it takes away some RAM. Also, automatic file system checks are enforced if unclean file systems are encountered. Yet, DHCP is enabled on all interfaces. That's it, umount the CF card, stick it into the Alix and have fun. Mission accomplished in record time, box is up and running :-) |
| Powered by [ Universal Post Manager ] plugin. HTML saving format developed by gVectors Team www.gVectors.com |