|
This page was exported from phaq
[ http://phaq.phunsites.net ] Export date: Sat Apr 20 6:12:38 2024 / +0000 GMT |
|
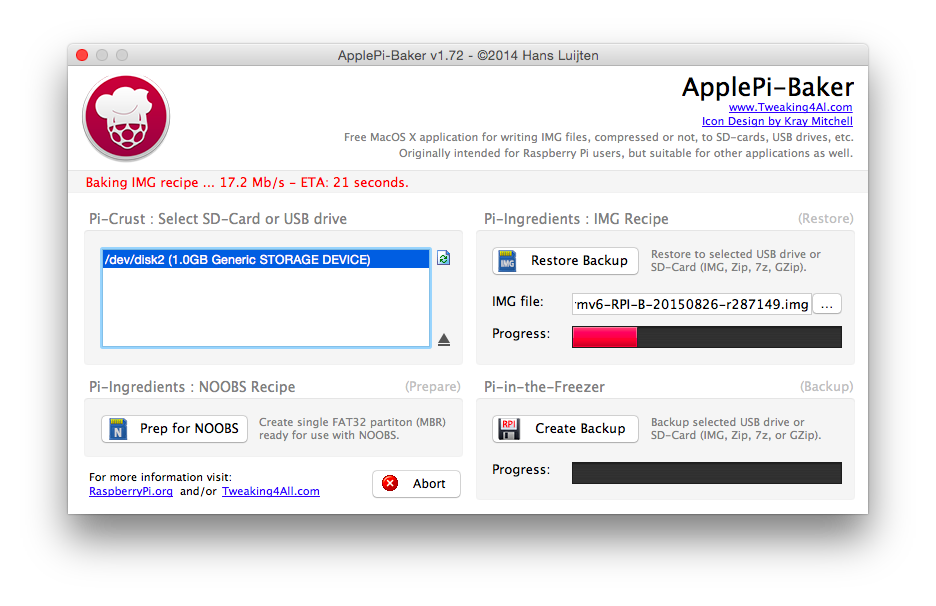
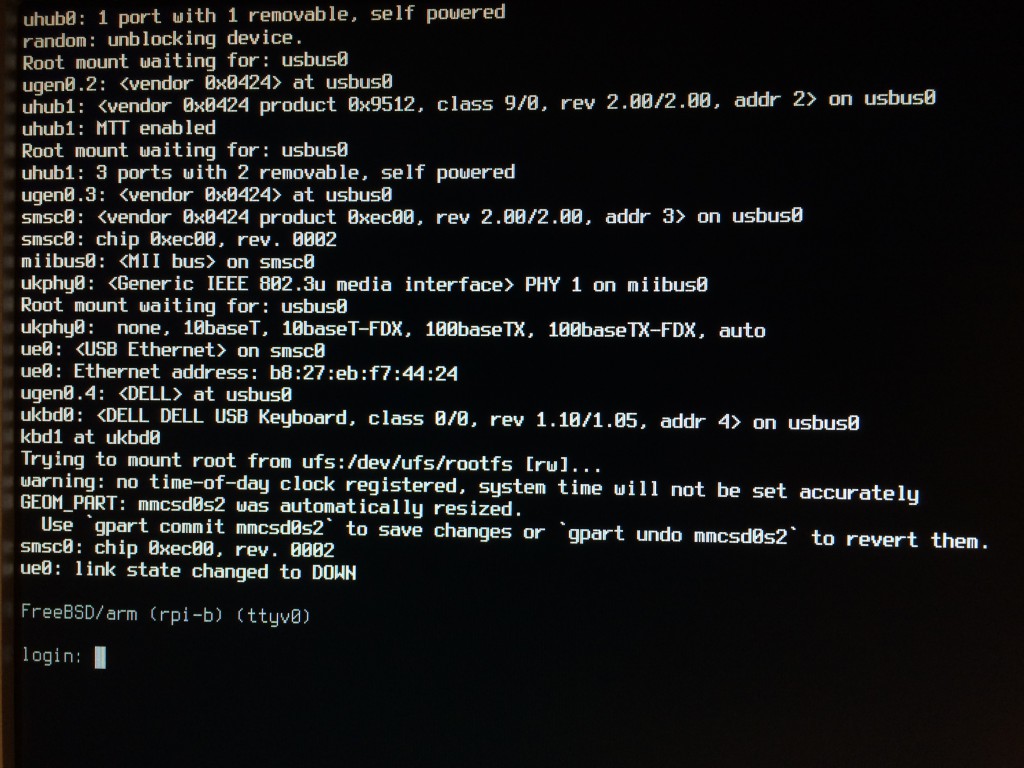
Tonight I went along to fire up FreeBSD on a Raspberry Pi. Although I'm in for Linux on a day-to-day basis, my heart truely belongs to the BSDish world. So why not run FreeBSD on the Pi? Especially since I have an idea in mind to build a very specialized and compact access point for one of my ongoing projects. A good starting point for this is at https://wiki.freebsd.org/FreeBSD/arm. Getting FreeBSDAfter some quick reading I found that FreeBSD on the Pi has matured a lot since I looked at it last time, so the install is considered to be more straightforward as it used to be. And yet even better, snapshot are on par with latest 10.2 release :-) FreeBSD on arm is not considered a tier 1 platform, btw. So this means, that it's supported on a best-effort basis as opposed to tier 1 platforms like x86. So to get the current snapshots, head over to ftp://ftp.freebsd.org/pub/FreeBSD/snapshots/arm/armv6/ISO-IMAGES/10.2/. Get the image and extract it. wget ftp://ftp.freebsd.org/pub/FreeBSD/snapshots/arm/armv6/ISO-IMAGES/10.2/FreeBSD-10.2-STABLE-arm-armv6-RPI-B-20150826-r287149.img.xzThen write the image to your SD card. Depending on what you need, a 4 GiB card will do. I used a 1 GiB card for mine, which is plenty enough. Since I prepared the SD card on my mac, I used ApplePi Baker to transfer the image. Once this has finished, slide your SD card into your Raspi, hook it up and watch it boot. Log on to FreeBSDThe first boot may take a little longer than usual as the FreeBSD slice is automatically resized to fill up the remaining space of the SD card. If you're used to FreeBSD's init, you may notice that you wont see any messages on screen besides some initial kernel stats. Don't panic. That's because the boot console is configure to use the serial port, so in order to see this, you will need to hook up a serial TTL cable to the Pi's designated serial pins on the GPIO header. To login as root, in you must use root for both username and password. It's best to quickly change it to something more secure: passwd rootThe FreeBSD dev's have already enabled SSH for us by default, additionaly the NIC is configured to use DHCP. So you can actually log in via SSH, but not using the root account. As opposed to Linux distros for the Pi, where a default account called pi exist, FreeBSD comes with a yet another default account by the name of freebsd. Use this as both username and password to login as an unprivileged user. You should change this password as well: passwd freebsdLet me point out, FreeBSD doesn't come with a lot of tools. Especially when you come from a Linux-world, familiar tools like sudo do not exist on the base install. Those will need to be installed separately. So in order for you to be able to do that, you need to use the su command in the first place while logged in as user freebsd. Elevate to a privileged session like this, and provide the root password. su -Configuration stuffThe main system configuration is found at /etc/rc.conf, which means, hostnames, interface configs, services, basically everything is defined in there. Forget about runlevels, FreeBSD doesn't need it. We're talking about simple init here. You may want to change your keyboard map? Add a new statement like this to rc.conf: You'll find some keymaps at /usr/share/vt/keymaps. To activate simply run: You may want to check out /etc/defaults/rc.conf on configurable keys which are available. Each newly installed software may add it's own keys. You may also consider to enable automatic file system repairs. Of course, FreeBSD always runs fsck and minor corruption will be repaired automatically. This is called preen mode. But if there is more severe corruption, the check bails out with an error, leaving it to the admin to decide what to do. So you will need to confirm everything on your own. This may be good in some cases, but breaks unattended mode. Especially in this scenario I would like FreeBSD to recover as much as possible. Yes, this comes at the price, files will be salvaged, misallocated blocks will be cleared, etc. But hey, it's supposed to be running unattended. Beware the risk of data loss though! You may also want to put /tmp onto a ram disk in order to reduce I/O writes for temporary scratch files a little. All this goes to /etc/rc.conf as well: If you put /tmp on a ram disk (MFS means actually memory file system), you may want to redirect /var/tmp to /tmp as well. This is not strictly needed, but if you don't want to take extra care for cleaning up temp directories via cron or alike, this will help you. Also it may reduce intense writes to the SD card if you're doing lot's of scratch files stuff. About softwareOk, so how to get software onto the Pi? Currently there's no packages around, at least none that are officially built. So you will either use the FreeBSD ports and compile the ports by yourself, your roam the web for someone else to provide packages. There exists an experimental repository at http://pkg.uzsolt.hu/ for FreeBSD 10. So to include it, open up /etc/pkg/FreeBSD.conf in vi. First disable the existing FreeBSD section by setting enabled: no. Save the file and exit. Then add a new file at /etc/pkg/uzsolt.conf with this content: Now run the pkg bootstrap like this: Then run pkg update to update the repository. Currently there's only some 300 packages available, to see what's around, do it like so: Then to install, do pkg install <pkgname>. Ok, if you need something else, go for the ports (see also https://www.freebsd.org/doc/handbook/ports-using.html). Quick and directy: But we warned, you'll need enough disk space for this. And also, compiling needs even more space, and yet processing power. It'll take a long time, which is why I want to have a look at building FreeBSD packages for the Pi via cross-compiling using poudriere in my upcoming blog post. And please keep in mind to not (as in never, really) mix ports and packages. Use either one or the other. Mixing it will break the system sooner or later due to conflicts. So once you start with one, stick with it. About device namesAlright, if you're looking for the FAT partition that contains the boot loader, config.txt et all, head out to /boot/msdos. When you look at the output of mount you'll find it familiar that FreeBSD uses labels as well instead of device names. But don't let it fool you, when it comes to device names, FreeBSD is completely different story. Some quick primers:
More on FreeBSDYou'll find more on FreeBSD on https://www.freebsd.org/doc/handbook/. Rest assured that FreeBSD may look archaic and not so comfortable as the typical Linux distro. But it has it's benefits, because it doesn't bloat your hard drive. Leaving you with a default install of roughly 100 MiB, FreeBSD gives you a pure and plain but yet solid and powerful operating system. I'm going to build an access point out of my Pi. So stay tuned for my yet another upcoming howto. Be sure to also read on part 2 of the series, how to cross-compile packages for the Raspi. |
| Powered by [ Universal Post Manager ] plugin. HTML saving format developed by gVectors Team www.gVectors.com |